In this tutorial we will write a basic Todo web application based on TodoMVC that syncs to an online CouchDB server. It should take around 10 minutes.
Prefer video tutorials? This guide is available in video format:
We will start with a template of the project where all the data related functions have been replaced with empty stubs. Download and unzip pouchdb-getting-started-todo.zip. When dealing with XHR and IndexedDB you are better off running web pages from a server as opposed to a filesystem. To do this you can run:
$ cd pouchdb-getting-started-todo
$ python -m SimpleHTTPServer  # for Python 2
$ python -m http.server       # for Python 3
Then visit http://127.0.0.1:8000/. If you see the following screenshot, you are good to go:
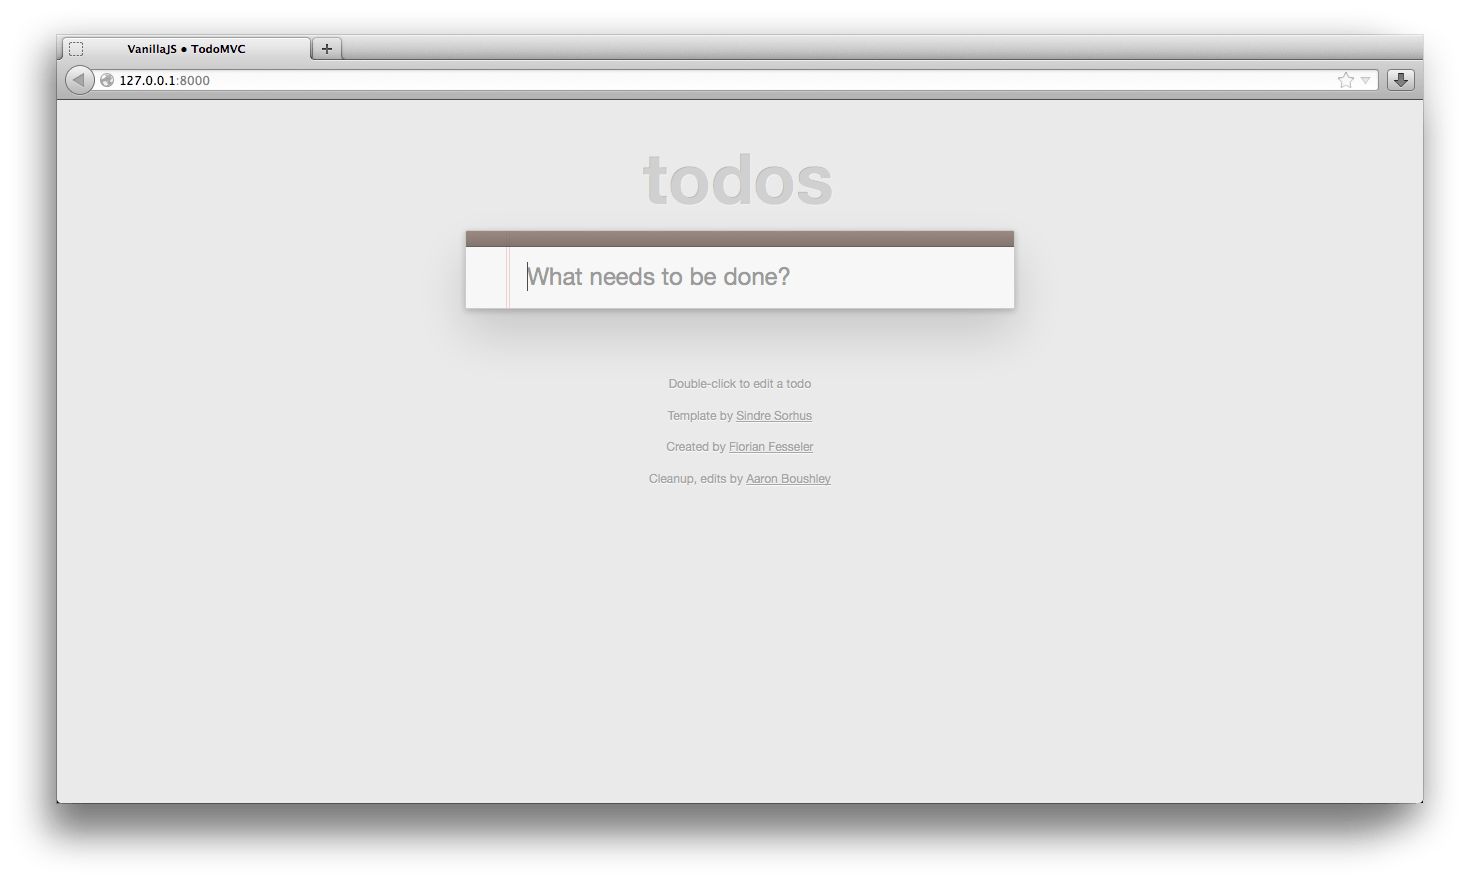
It's also a good idea to open your browser's console so you can see any errors or confirmation messages.
Open index.html and include PouchDB in the app by adding a script tag:
<script src="https://cdn.jsdelivr.net/npm/pouchdb@9.0.0/dist/pouchdb.min.js"></script>
<script src="js/base.js"></script>
<script src="js/app.js"></script>
PouchDB is now installed in your app and ready to use! (In production, you should use a local copy of the script.)
The rest of the work will be done inside app.js. We will start by creating a database to enter your todos. To create a database simply instantiate a new PouchDB object with the name of the database:
// EDITING STARTS HERE (you don't need to edit anything above this line)

const db = new PouchDB('todos');
const remoteCouch = false;
You don't need to create a schema for the database. After giving it a name, you can immediately start writing objects to it.
The first thing we shall do is start writing items to the database. The main input will call addTodo with the current text when the user presses Enter. We can complete this function with the following code:
function addTodo(text) {
  const todo = {
    _id: new Date().toISOString(),
    title: text,
    completed: false
  };
  db.put(todo, function callback(err, result) {
    if (!err) {
      console.log('Successfully posted a todo!');
    }
  });
}
In PouchDB each document is required to have a unique _id. Any subsequent writes to a document with the same _id will be considered updates. Here we are using a date string as an _id. For our use case, it will be unique, and it can also be used to sort items in the database. You can use db.post() if you want random ids. The _id is the only thing required when creating a new document. The rest of the object you can create as you like.
The callback function will be called once the document has been written (or failed to write). If the err argument is not null, then it will have an object explaining the error, otherwise the result will hold the result.
We have included a helper function redrawTodosUI that takes an array of todos to display, so all we need to do is read the todos from the database. Here we will simply read all the documents using db.allDocs. The include_docs option tells PouchDB to give us the data within each document, and the descending option tells PouchDB how to order the results based on their _id field, giving us newest first.
function showTodos() {
  db.allDocs({include_docs: true, descending: true}, function(err, doc) {
    redrawTodosUI(doc.rows);
  });
}
Once you have included this code, you should be able to refresh the page to see any todos you have entered.
We don't want to refresh the page to see new items. More typically you would update the UI manually when you write data to it, however, in PouchDB you may be syncing data remotely, so you want to make sure you update whenever the remote data changes. To do this we will call db.changes which subscribes to updates to the database, wherever they come from. You can enter this code between the remoteCouch and addTodo declaration:
const remoteCouch = false;

db.changes({
  since: 'now',
  live: true
}).on('change', showTodos);

// We have to create a new todo document and enter it in the database
function addTodo(text) {
So every time an update happens to the database, we redraw the UI to show the new data. The live flag means this function will continue to run indefinitely. Now try entering a new todo and it should appear immediately.
When the user checks a checkbox, the checkboxChanged function will be called, so we'll fill in the code to edit the object and call db.put:
function checkboxChanged(todo, event) {
  todo.completed = event.target.checked;
  db.put(todo);
}
This is similar to creating a document, however the document must also contain a _rev field (in addition to _id), otherwise the write will be rejected. This ensures that you don't accidentally overwrite changes to a document.
You can test that this works by checking a todo item and refreshing the page. It should stay checked.
To delete an object you can call db.remove with the object.
function deleteButtonPressed(todo) {
  db.remove(todo);
}
Similar to editing a document, both the _id and _rev properties are required. You may notice that we are passing around the full object that we previously read from the database. You can of course manually construct the object, like: {_id: todo._id, _rev: todo._rev}, but passing around the existing object is usually more convenient and less error prone.
todoBlurred is called when the user edits a document. Here we'll delete the document if the user has entered a blank title, and we'll update it otherwise.
function todoBlurred(todo, event) {
  const trimmedText = event.target.value.trim();
  if (!trimmedText) {
    db.remove(todo);
  } else {
    todo.title = trimmedText;
    db.put(todo);
  }
}Now we'll implement the syncing. You need to have a compatible server instance. You can install either PouchDB-Server, CouchDB or use an hosted Couch service such as Cloudant
To replicate directly with CouchDB, you need to make sure CORS is enabled. Only set the username and password if you have set them previously. By default, CouchDB will be installed in "Admin Party," where username and password are not needed. You will need to replace myname.example.com with your own host (127.0.0.1:5984 if installed locally):
You can enable CORS in CouchDB using curl or the Futon web interface, but we've saved you some time by making a Node script called add-cors-to-couchdb. Just run:
$ npm install -g add-cors-to-couchdb
$ add-cors-to-couchdb
Or if your database is not at 127.0.0.1:5984:
$ add-cors-to-couchdb http://me.example.com -u myusername -p mypasswordYou can check that CORS is now enabled by visiting http://localhost:5984/_utils/config.html in your browser. You should see something like this:

Now we will have the todo list sync. Back in app.js we need to specify the address of the remote database. Remember to replace user, pass and myname.example.com with the credentials of your own CouchDB instance:
// EDITING STARTS HERE (you don't need to edit anything above this line)

const db = new PouchDB('todos');
const remoteCouch = 'http://user:pass@myname.example.com/todos';
Then we can implement the sync function like so:
function sync() {
  syncDom.setAttribute('data-sync-state', 'syncing');
  const opts = {live: true};
  db.replicate.to(remoteCouch, opts, syncError);
  db.replicate.from(remoteCouch, opts, syncError);
}
db.replicate() tells PouchDB to transfer all the documents to or from the remoteCouch. This can either be a string identifier or a PouchDB object. We call this twice: once to receive remote updates, and once to push local changes. Again, the live flag is used to tell PouchDB to carry on doing this indefinitely. The callback will be called whenever this finishes. For live replication, this will mean an error has occurred, like losing your connection or you canceled the replication.
You should be able to open the todo app in another browser and see that the two lists stay in sync with any changes you make to them. You may also want to look at your CouchDB's Futon administration page and see the populated database.
You've completed your first PouchDB application. This is a basic example, and a real world application will need to integrate more error checking, user signup, etc. But you should now understand the basics you need to start working on your own PouchDB project. If you have any more questions, please get in touch on IRC (web) or the mailing list.


